After having great (personal) success with upholstering my brand new, super fab headboard, I decided to take a a few more upholstery projects under consideration. This time around my medium is chairs.
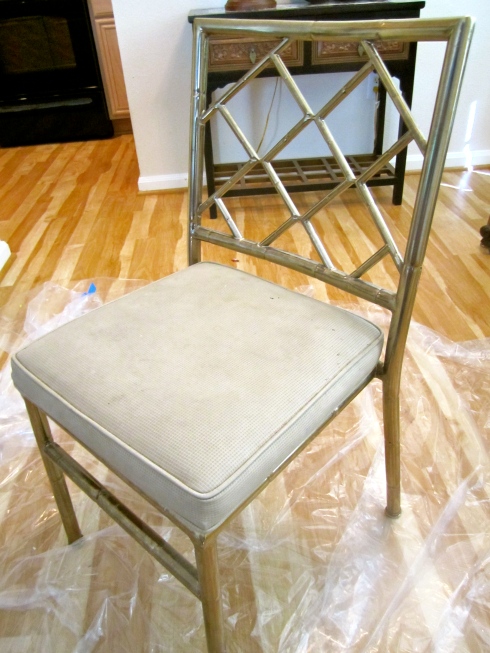
We have had these chairs in our family’s possession for a long time (maybe even the 40’s?) but they have been in major need of an update.
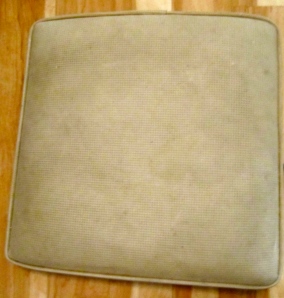
Bleh, look at these nast-ay seats! Time has definitely taken its toll.
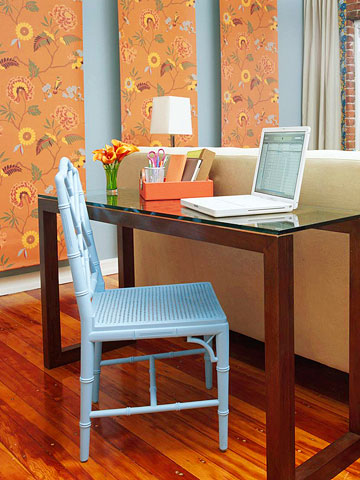
It was time for a big change. Inspired by this picture of a the re-painting of a similarly structured bamboo-esque chair…
…I decided to take matters into my own hands. All it took was a couple of cans of spray paint, two yards of fabric and patience!
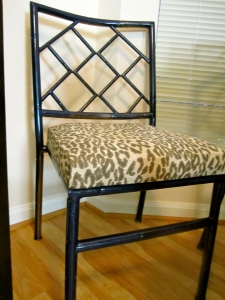
Here is my final product, I am so proud and obsessed!
If you like what you see, read below to find out how you can do it yourself, too!
**Please note — everything noted below is only my personal opinion about how to dive into the process of re-upholstering chairs. Please check with more websites for extra help and steps…I am just an amateur working with what I’ve got.
**Also note — I am using two different projects to illustrate the steps for re-upholstery. Don’t be alarmed by the sudden switch of fabric and scenery!
MATERIALS:
1. Old chairs — if you don’t have a spare set, try local garage sales or thrift stores for great prices.
2. Spray paint — most spray paint from Home Depot or Lowe’s works on both metal and wood. You do need to choose whether you want a matte or shiny finish (I chose shiny navy paint)j.
3. Drop cloth — this plastic film will help protect the floors or outdoors from excess paint.
4. New fabric — try Joann’s Fabric, etc.
5. Scissors — good fabric scissors are best.
6. Staple Gun — invest in electric!
7. Staples — use 1/2 inch staples or best judgement based on the thickness of fabric and chair.
8. Measuring tape — to measure your seats and help you decide upon the amount of new fabric needed.
PROCESS:
Skip to step 7 if you do not want to spray paint your chairs.
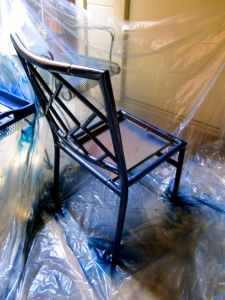
1. Remove seats. In order to spray paint your chairs, you will need to first remove the seats to keep excess paint off of them. Move them aside for the time being.
2. Place drop cloth on ground. Always spray paint outside since little flecks will fly every where. Use a drop cloth (plastic sheet that can be purchased at Home Depot etc) to protect the ground.
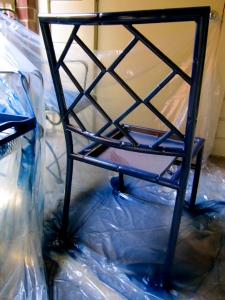
3. Spray paint chairs. Most spray paints are the same, but always read the instructions on the outer label before using. Hold the spray paint about 6 inches away from what you are spraying and give it one generous coat.
4. Let chairs dry. For best results, let your chairs sit to ensure they are completely dry. You can let them sit outside if the weather is less than 90 degrees (otherwise it may bubble like mine did at first!).
5. Re-spray paint. You will get the highest quality by following up the next day with another coat of spray paint. Looking at your chairs in a different light may help you see spots you missed the day before.
6. Let chairs dry (again). Once again, let your chairs dry completely. It’s almost time to re-upholster…
7. Measure your seats. Make sure you have enough fabric to cover all of your seats. Most seats can be covered in a half (1/2) square yard of fabric. For my 4 seats, I purchased 2 yards of fabric.. FYI — 1 yard = 3 feet = 36 inches.
8. Pick and buy a fabric. Try Joann’s or your local fabric store for a wide selection. It is best to invest in a nicer form of fabric made for upholstery because it is thicker and more durable than simple cotton. You may want to keep in mind where and how much the chairs will be used when picking out the fabric. White or light colors can be dangerous in a kitchen area! And always get a little more than you think you will need, just in case.
9. Cut fabric. Once home, measure your fabric to fit each of your seats. You can make sure it fits by wrapping the cut fabric around the seat leaving 3-4 inches on the back of each edge.
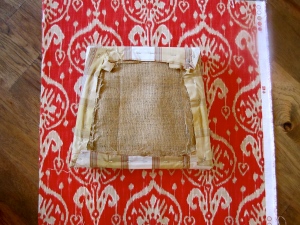
10. Place fabric. Begin the process one chair seat at a time. Place the fabric upside down on the floor and the seat on top of it. Wrap the fabric around the seat, secure with your hands or fabric pins.
11. Staple the edges of the fabric. With the seat turned upside down towards the floor, begin folding the fabric over all of the edges, pulling tight and stapling as you go. I started with 2 parallel sides to pull the fabric tight, and then repeated on the other 2 sides. Always start in the middle and work your way out on both sides, making sure to smooth wrinkles as you go.
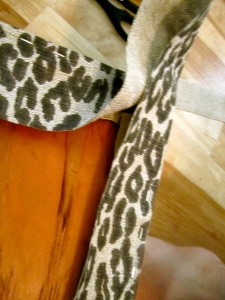
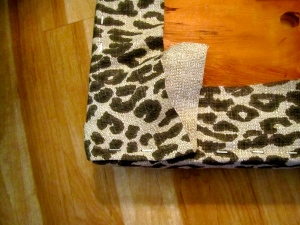
12. Work the corners. Corners are always tricky (even on making the bed!). I’m sure there are better tips out there, but I seriously worked the corners by making them like a bed. Fold one side over its edge, and the adjacent side on top of that. In my opinion, it looks better and more professional to try to keep the fold line on the corner. It can take a few extra tries to get right, but if you play with it enough it will look great.
13. Check your work. Check all of your work and then congratulations! You are the proud owner of new, re-furbished chairs!
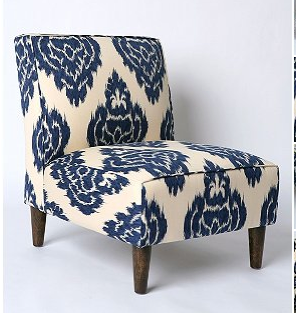
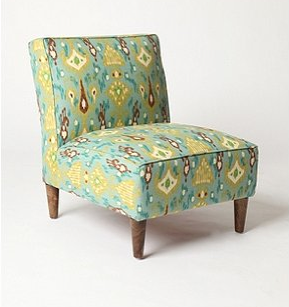
P.S. Check out these chairs I helped my mom with after the successfully complete my leopard print chairs 🙂 They are FULL of IKAT FABULOSITY.
The best part about both of these projects is that ANYONE can do them, I promise. Truly, all it takes is a little patience, amateur engineering of fabric and a staple gun. Think you’re up for it? Give it a try this week and send me your pictures! Good luck!

